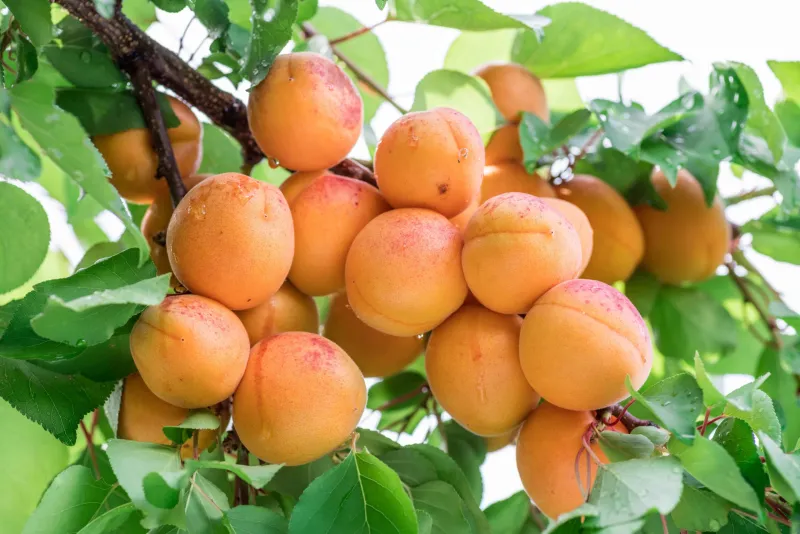
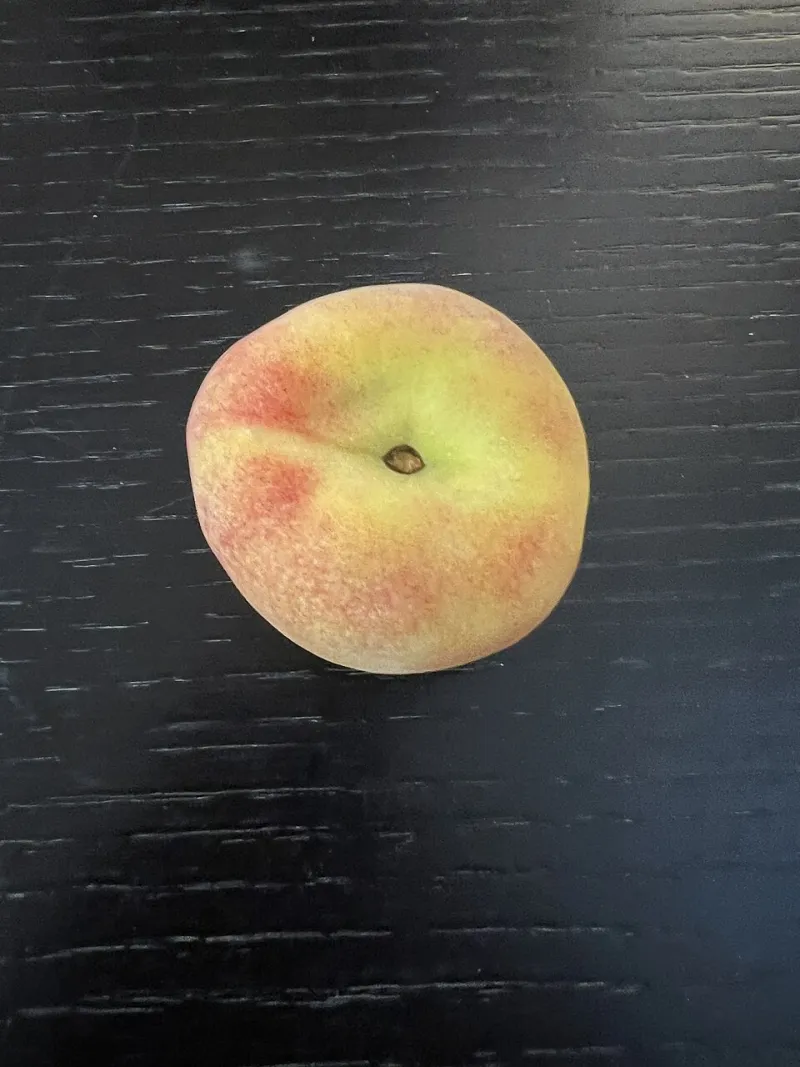
A Stone, a Fridge and a Little Faith: Growing Peaches from Shop-Bought Fruit
There is something quietly hopeful about saving a peach stone. You finish the fruit, rinse the wrinkled pit, and suddenly you are not just eating a peach — you are making a plan. Never mind that the plan involves a fridge, a paper towel and several months of doing almost nothing. That is part of the appeal.
Growing a peach or nectarine from a shop-bought stone is not the fastest route to a homegrown crop, and it is certainly not the most reliable. But it is a lovely thing to start in November, when the garden is going quiet and the kitchen windowsill still has a bit of light left in it. Think of it as an orchard experiment rather than a fruit-production scheme.
Pick a stone worth saving
Start with fruit you actually enjoy eating. A peach from the supermarket may have been picked firm and shipped a long way, but the stone can still be viable. It is worth saving two or three rather than pinning everything on one pit. Nectarines work too — they are the same species, Prunus persica, just without the fuzz.
Eat the fruit, then clean the stone properly. Remove every scrap of flesh with your fingers and a soft brush, and rinse it under cool water. Skip the soap. Leave it to dry on a plate for a day or two, but do not bake it, roast it or subject it to any enthusiastic kitchen hygiene that involves heat. You want a clean stone, not a sterilised one.
Clingstone peaches hang on to their pits stubbornly, which is annoying when you are making a tart and rather useful when you are trying to extract one intact. Freestone fruit gives up its stone more easily. Either way, a small nick in the outer shell can help moisture get in, but be careful: crack it too enthusiastically and you may damage the seed inside. If in doubt, leave the shell alone.
The cold bit
Peach stones need a period of cold, damp conditions before they will germinate. In the wild, that is winter. In a UK kitchen, it is the salad drawer.
Wrap each clean stone in a piece of damp kitchen paper or tuck it into a small bag of barely moist vermiculite. Seal it loosely in a labelled freezer bag — name, date, fruit type — and put it in the fridge, not the freezer. Aim for somewhere around 2–5°C. This cold stratification usually takes eight to twelve weeks. Check every couple of weeks for mould or drying out. If the paper has gone bone dry, dampen it again. If a stone has grown a fuzzy coat, bin it and start again with another.
Starting in November means the cold spell can tick along quietly through the darkest part of the year. By late January or February, you should be ready to pot up. You can also stratify stones outdoors in a cold frame or a sheltered corner, but the fridge gives you more control and fewer conversations with mice.
Waking it up
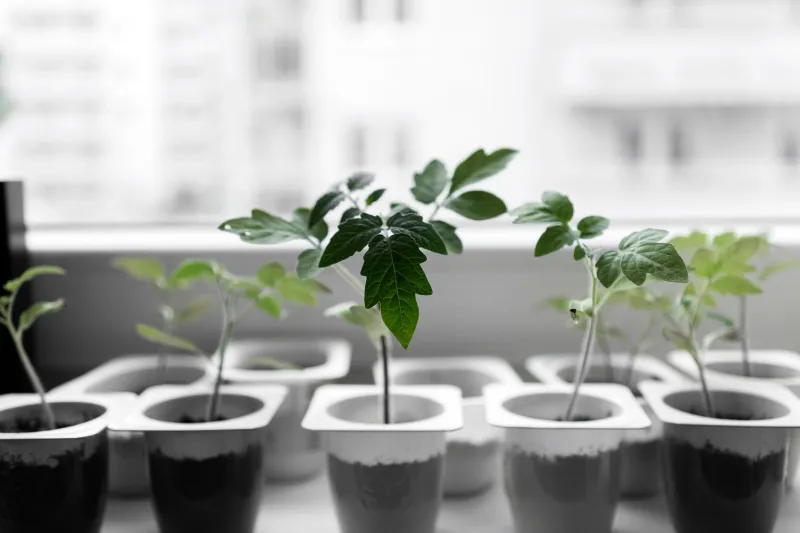
When the cold period is up, pot each stone about two to three centimetres deep in a small pot of free-draining compost. Keep it somewhere warm and light — a sunny windowsill is ideal — and water it gently so the compost stays damp but not soggy. Germination can be slow and uneven. Some stones will send up a shoot within a few weeks; others will sit there looking exactly like a stone. Patience is the whole game.
Once a green shoot appears, give it as much light as you can. Turn the pot regularly so the seedling does not lean permanently towards the glass. When the risk of frost has passed — usually late spring in most of the UK — harden the young plant off gradually before moving it outside. A cold snap is not the same as helpful stratification once the seed has woken up.
A life in pots, and the British weather
A peach seedling will happily spend its first few years in a container. Move it into a larger pot as it grows, using a loam-based compost with good drainage. A mature tree in a pot will eventually need something in the region of 30–40 litres, which is a serious piece of patio furniture. Water regularly in summer, feed through the growing season, and do not let the compost dry out completely.
Give it the sunniest, most sheltered spot you have. A south-facing wall is ideal, and fan-training against a wall can help a young tree make the most of limited warmth. Peaches flower early, so late frosts can nip at the blossoms. They are generally self-fertile, but insects still do the work, so avoid sealing the tree away from pollinators.
Peach leaf curl is the classic British heartbreak. It thrives in wet winters and shows up as distorted, reddish foliage in spring. Keeping rain off the tree from autumn to spring — with a simple cover or a carefully positioned shelter — can reduce the risk. Prune in summer rather than winter where possible, and keep an eye on the leaves rather than waiting for disaster.
What you might actually get
Here is the honest bit. A peach grown from a supermarket stone will not necessarily taste like the fruit you ate. It may be smaller, later or less sweet. It may take three to five years to flower, and longer to give you anything worth calling a crop. In a cool UK summer, ripening can be a genuine challenge.
But that is not really the point. The point is the small, ridiculous pleasure of watching a stone from your lunch turn into a leaf, then a stem, then a plant that lives on the patio. The blossoms alone are worth something. And if you do eventually pick a peach from a tree you started on the kitchen counter, it will taste like patience — which is not a flavour you can buy in the supermarket.
If your goal is reliable fruit rather than an experiment, buy a named peach or nectarine tree grafted onto a suitable rootstock. If your goal is a bit of November optimism, save a stone. Wrap it in damp paper, label it, and put it in the fridge. That is the whole job for now.